 The importance of understanding proper headspace when home canning is key to eliminating lid failures.
Crucial: Knowing Proper Headspace
There are several key terms often found in canning recipes. Understanding them and properly utilizing their instruction will often be the determining factor as to whether your lids seal or fail. Useful tools such as a head space measurer and natural bacteria-fighting vinegar are simple, cost-effective ways to substantially decrease lid failures. Properly packing your jars is another key to maximizing yield and utilizing as much jar space as possible.
The below information is an excerpt from my cookbook, Canning Full Circle. If you intend to reference or site my works, please be sure to include “The Canning Diva®” and my website at www.canningdiva.com.
Raw-Packing Method
This method is most suitable for vegetables and root crops as well as pickling. Raw-packing is the practice of filling jars tightly with fresh, uncooked food. Hence the term, “raw”. When using this method it is common to see foods, especially fruit, floating in the jars. The reason foods may float is due to oxygen becoming trapped within the food. Further, food exposed to oxygen within a sealed jar may oxidize which means the food may discolor within 3-6 months of storage. It is edible, just discolored. This typically happens to the foods not covered by liquids at the very top of the jar and can happen more often in raw packed jars.
Hot-Packing Method
Hot-packing is the practice of heating freshly prepared food to boiling, simmering for 2 to 5 minutes, then filling jars with the boiled food. Hot-packing is the best way to remove air trapped within food and is the preferred packing method for foods processed in a water bather. Removing trapped air, or pre-shrinking, allows us to better maximize the jar space. Additionally, bringing foods to a boil before packing allows a better flavor transfer, blending ingredients so the overall recipe tastes as it should.
Understanding Headspace
The key to lid sealing starts with a clean jar surface and properly measured headspace. Throughout Canning Full Circle, you will see my recipes require you to dip a warm washcloth in vinegar and thoroughly wipe the jar rim. Doing so cuts through grease, sugar, brine and removes all food particles atop the jar rim and screw bands which would otherwise prevent a good seal. Further, vinegar naturally kills bacteria so you are giving your jar rim a last line of defense against anything harmful.
It is crucial to proper processing and lid sealing to understand and follow headspace instructions. Headspace is defined as the unfilled space above the food inside a jar and below its lid. Typically in home canning, recipes will specify leaving ¼” headspace for jams and jellies, ½” headspace for fruits, salsa, chutney and tomatoes, and from 1” to 1 ¼”in low acidic foods processed in a pressure canner.
This space is needed for the expansion of food while processing and for forming vacuums in cooled jars. The extent of expansion is determined by the air content in the food and by the processing temperature. Air expands greatly when heated to high temperatures; the higher the temperature, the greater the expansion, therefore greater the headspace. For best results, follow the headspace listed in the recipe.
Over- or under-filling jars also prevents a good lid seal, which is why following proper headspace is crucial to the lid sealing.
One of my best examples of this is with Traditional Apple Pie Filling. I was teaching a canning class where the focal point was pie filling. During instruction the class was to work quickly when stirring the filling awaiting for it to thicken prior to filling the jars. When bringing the pie filling to a boil, if left unattended, will boil over like an erupting volcano. If the viscosity of the filling acts like this in a stock pot, imagine what it will do in a jar during a hot water bath. To avoid the pie filling from flowing out of the jars during processing, adhering to a 1 ¼”, also known as a “generous headspace”, will give the filling room to expand keeping its contents in the jar. If you eyeball the headspace and fill it too close to the jar rim, boiling over out into the water bath will cause you to not only lose precious filling, it will spill onto your clean jar rim preventing the lid from sealing.
So how do you measure headspace?
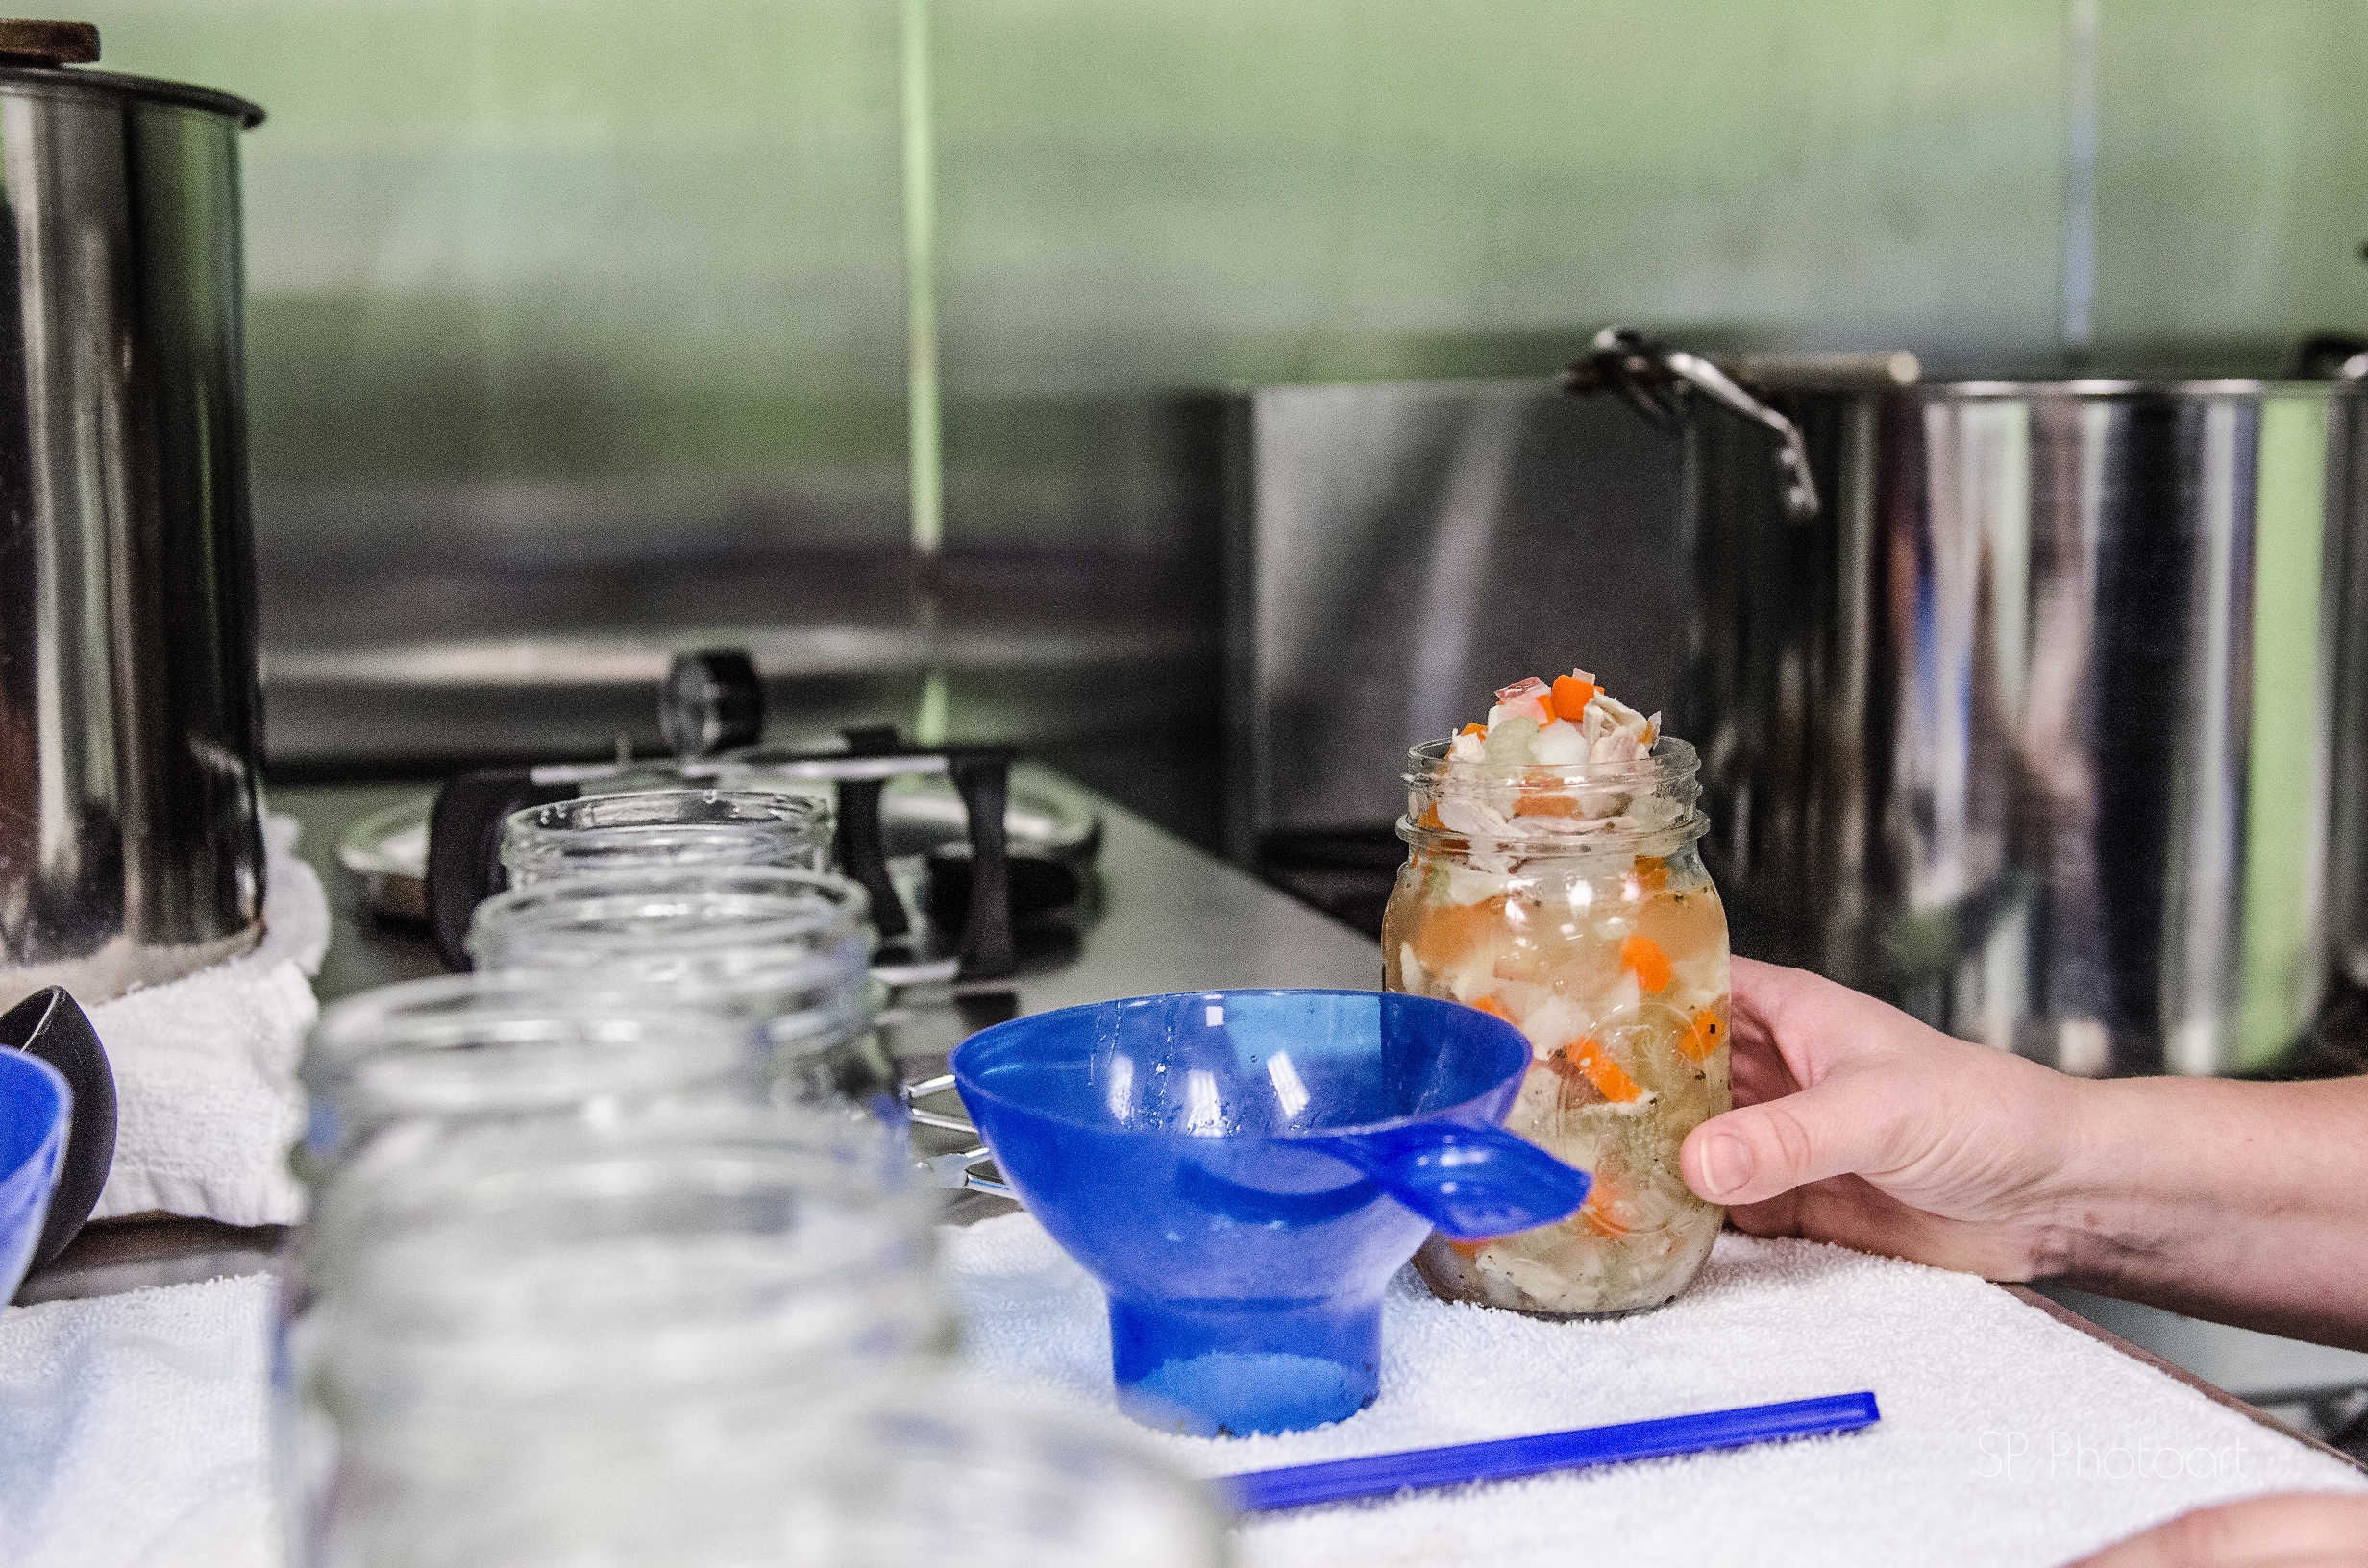
At the base of the headspace measuring tool are three notched grooves resembling a staircase. Above each notch are embossed measurements from ¼” to 1”. Here is a step-by-step guide to properly measuring headspace:
- Set the notch measurement specified in your recipe onto the jar rim and hold upright with the tip of the tool placed into the jar.
- Fill your jar until the foods touches the tip of the headspace measuring tool. Be sure the tip is not submerged in food – the tip should just touch the food.
- If your jar is overfilled, simply use a teaspoon and remove liquid or food pieces as necessary to measure the proper headspace.
- Once your air bubbles are removed and your headspace properly measured you may now clean your jar rim with vinegar in preparation for adhering your lids and rings.
Understanding proper headspace when home cannning and how to measure it is crucial to successful long-term storage.
“Remove air bubbles and adjust headspace as necessary.”
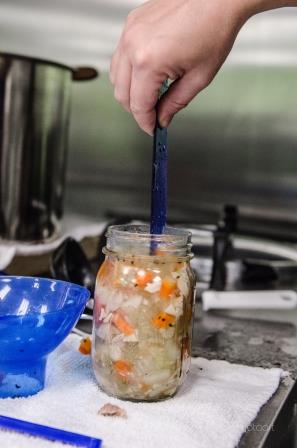
Throughout my cookbook, Canning Full Circle, you will see this instruction. Removing trapped air is a crucial step in properly packing jars. The headspace measuring tools double as an air bubble remover tool. If you do not own one, you may use a chopstick or the handle on a wooden spoon or purchase a Canning Utensil Kit like the one mentioned below.
The key to removing trapped air pockets is using your tool around the inside wall of the jar as well as in the center, being sure to tamp down foods to release trapped air. If the recipe has a high liquid content, I will often tamp the jar gently on a cutting board to agitate its contents helping to release trapped air. When canning foods such as raw chicken, it is essential to lift, move and tamp the meat pieces ensuring air pockets cannot form.
For more details and instructions on how to safely home can and preserve foods, pick up my copy of Canning Full Circle cookbook here. Happy Canning!
xx
Diane, The Canning Diva®