Check this out!
Pressure Canning Shrimp Instructions
The benefit of canning your own meat, poultry and fish is you know exactly what is in each jar. This is even truer if you raised, hunted or caught the meat or fish yourself. Shrimp and other crustaceans are no different. Salt water seafood is perfect for home canning. Like fish, shrimp is also preserved in pint or half-pint jars and should be kept frozen or refrigerated until ready to preserve.
Shrimp are very healthy. While there are many reasons, Global Seafood North America lists five splendid reasons to add shrimp to your canning calendar. The obvious reason is they are low in calories, however, another very important reason to eat shrimp is that it is very high in protein containing 18 grams of per three ounce serving. Protein makes up the building blocks of your muscles, organs, skin, and hormones. For this reason, it is important to get high quality with every meal. So get ready to stock your pantry full of this delicious, protein-packed creature from the sea with these simple instructions.
Instructions For Canning Shrimp
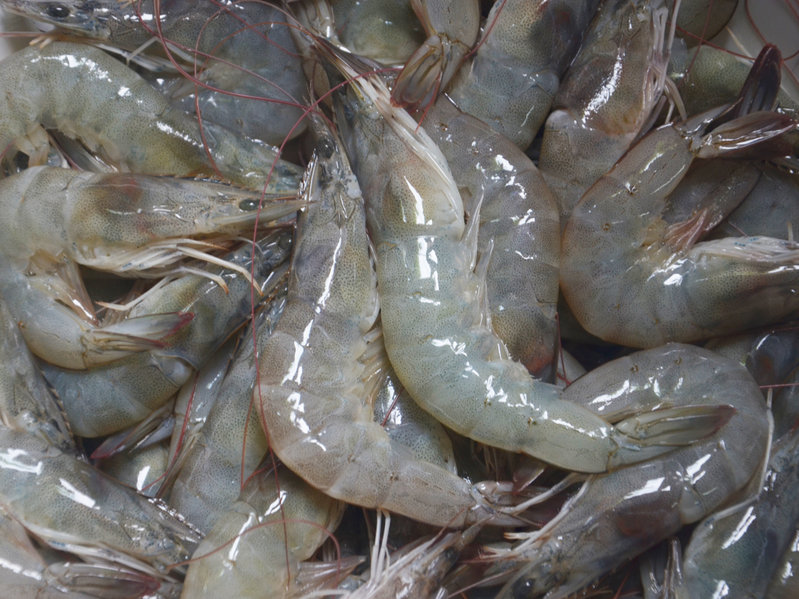
- Remove heads from shrimp as soon as they are caught. Chill on ice until you are ready to pressure can. If you are using frozen shrimp, be sure to thaw in the refrigerator before canning. When ready to preserve, rinse the shrimp and drain in a colander.
- In a large stockpot, create a brine by adding 1/2 cup canning salt and 1 cup vinegar to every gallon of water. Add the deheaded shrimp and bring it to a boil for 8 to 10 minutes. Drain the cooked shrimp in a colander and rinse with cold water for 3 minutes. Let stand to cool.
- In a saucepan, create another brine, adding 2 tablespoons canning salt to 1 gallon of water. Stir well to dissolve the salt. Bring to a full boil over high heat.
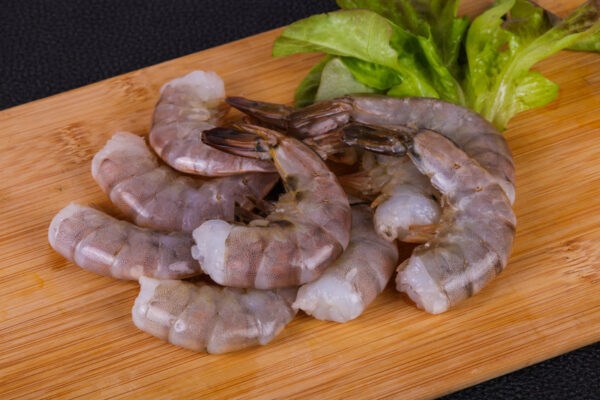
- Peel the shrimp and pack into jars, leaving 1-inch of headspace. Ladle the hot salt brine over the shrimp. If you are watching your salt intake, you may simply use boiling water and omit the salt. Remove any air bubbles and add additional brine if necessary to maintain the 1-inch headspace.
- Wipe each jar rim with a warm wet washcloth dipped in vinegar. Place lid and ring on each jar and hand tighten.
- Add hot water to your pressure canner per the manufacturer requirements, often 3 quarts. Place hot jars in the pressure canner, lock the pressure canner lid, and place canner on high heat, bringing it to a boil. Let the canner vent for 10 minutes. Close the vent and continue heating to achieve 11 PSI for a dial gauge and 10 PSI for a weighted gauge, or according to your elevation. Process both pints and half-pints for 45 minutes.
- When timer goes off and processing is done, turn off heat and allow the pressure in the canner to naturally get back to zero. This could take upwards of 30 minutes or more. Once canner is at zero PSI, remove canner lid, being sure deflect the steam from your face. Allow canner to sit for 10 minutes undisturbed prior to removing jars from the canner.
- Place jars on a cutting board and allow to cool undisturbed for a minimum of 8 hours or overnight. Once all the lids have sealed, and jars have fully cooled, remove the rings and wash jars in warm soapy water. Store rings to reuse, then label each jar with name and date then store.
Preparation Tip: Retain shrimp peels in a plastic freezer bag and freeze immediately after all the shrimp have peeled. Shells may be used to make and home can Shellfish Stock.
For more pressure canning recipes, be sure to join my Facebook Group, Canning, Dehydrating and Long-Term Food Storage. It is an amazing group filled with members from around the world who preserve foods from across the globe. Be sure to join, post and share – you will have a blast!
Happy Canning!
Diane, The Canning Diva~