Pickled Brussels sprouts are a fun and flavorful twist on classic pickles, perfect for adding crunch to relish trays, topping salads, or garnishing a Bloody Mary. This recipe—sometimes affectionately called frog balls in the canning world—uses a traditional vinegar brine to keep sprouts crisp and tangy. Even people who claim they don’t like Brussels sprouts often come back for seconds of these dilled delights!
(I sometimes use affiliate links in my content. This will not cost you anything but it helps me offset my costs to keep creating new canning recipes. Thank you for your support.)
By Diane Devereaux | The Canning Diva® Last updated: September, 2025
Key Takeaways
Pickling is one of the easiest entry points into home canning—perfect for beginners.
This recipe makes a zesty garnish for Bloody Marys or a crunchy addition to charcuterie boards.
Known as frog balls, pickled Brussels sprouts are a conversation starter at any gathering.
Why Pickle Brussels Sprouts?
I often tell beginners that pickling is the best place to start when learning home canning. Unlike jam making, which requires precise gelling and sugar ratios, pickling relies on a simple balance of water, vinegar, and salt to create an acidic environment that preserves vegetables safely. As with baking, the brine ratio is non-negotiable! Never dilute or skip the vinegar, or you risk spoilage.
The History and Nutrition of Brussels Sprouts
Brussels sprouts trace their roots back to ancient Rome, where early versions of small, cabbage-like buds were grown and enjoyed. However, the vegetable as we know it today was cultivated in Belgium during the 13th century, near the capital city of Brussels—hence the name. They became especially popular across Europe in the 16th century and eventually made their way to North America with French and Belgian settlers.
Today, Brussels sprouts are celebrated as a nutritional powerhouse. Just one cup provides:
Vitamin C: Supports immunity and collagen production.
Vitamin K: Essential for bone strength and blood clotting.
Fiber: Aids digestion and helps maintain healthy cholesterol levels.
Antioxidants: Including kaempferol, which has anti-inflammatory benefits.
Folate and B vitamins: Important for cell growth and metabolism.
Their compact leaves and earthy flavor make them both versatile and hearty—a vegetable that pairs well with savory seasonings, roasting, sautéing, or, of course, pickling.
How Pickling Enhances Brussels Sprouts
Pickling does more than preserve sprouts—it elevates their flavor and potential health benefits:
Flavor Boost: The brine infuses the sprouts with tangy, savory, and sometimes spicy notes. This process softens their natural bitterness, creating a balanced and crave-worthy bite.
Nutrient Retention: Unlike cooking methods that can leach out vitamins, water-bath canning and brining help retain much of the vitamin C, fiber, and antioxidants.
Gut Health Support: While traditional vinegar pickling doesn’t create probiotics (as in fermentation), the acidity of the brine supports digestion by making nutrients more bioavailable.
Shelf Stability: Properly canned pickled sprouts are safe to store at room temperature, extending seasonal freshness for up to a year.
In short, pickling Brussels sprouts doesn’t just preserve them—it transforms them into a zesty, nutritious snack or garnish with year-round appeal.
Pickled Brussels Sprouts
Makes about 12 half-pints, 6 pints, or 3 quarts
Want to spice up your Bloody Mary or change up your pickles? Well there is no better way then surprising your guests with a couple of pickled Brussel sprouts. Even those who typically do not eat Brussels sprouts keep coming back for these dilled delights! Feel free to keep ‘em dilled or add a bit of heat using hot pepper flakes. These are also commonly referred to a “frog balls” amongst home canners.
Ingredients
6 cups white vinegar (5% acidity)
2 cups water
½ cup pickling and canning salt
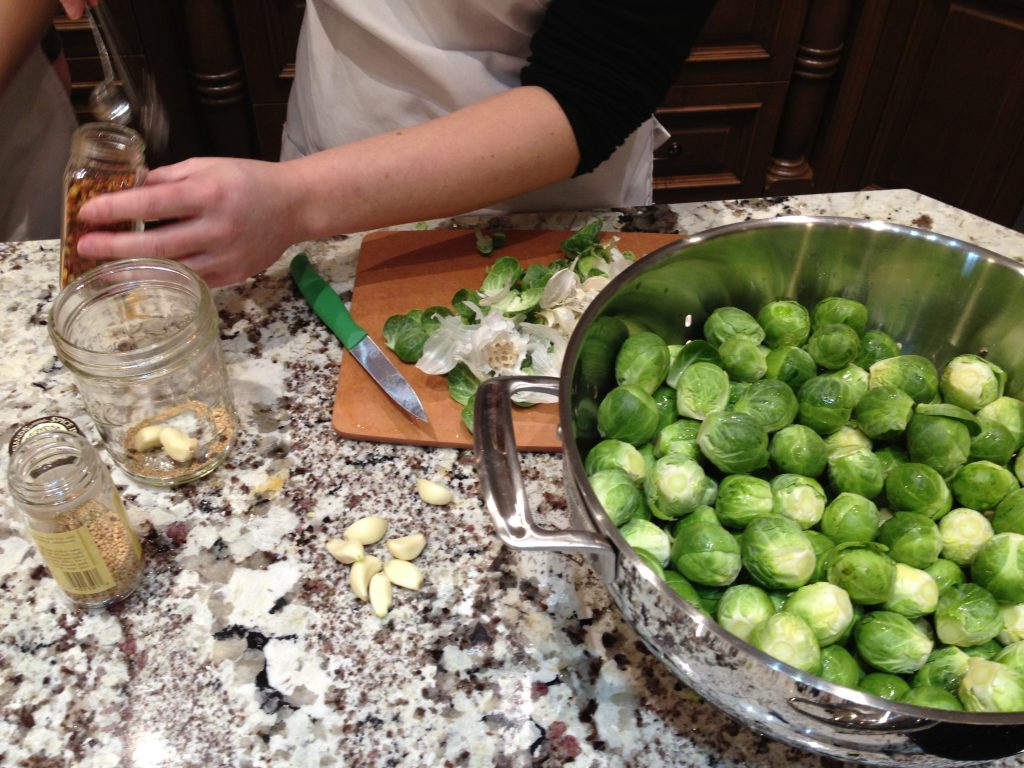
12 cloves of garlic
12 heads of fresh dill or 3 tablespoons dill seeds
2 tablespoons hot pepper flakes (optional – I like to make half the jars spicy and the other dill)
3 pounds fresh Brussel sprouts
Instructions
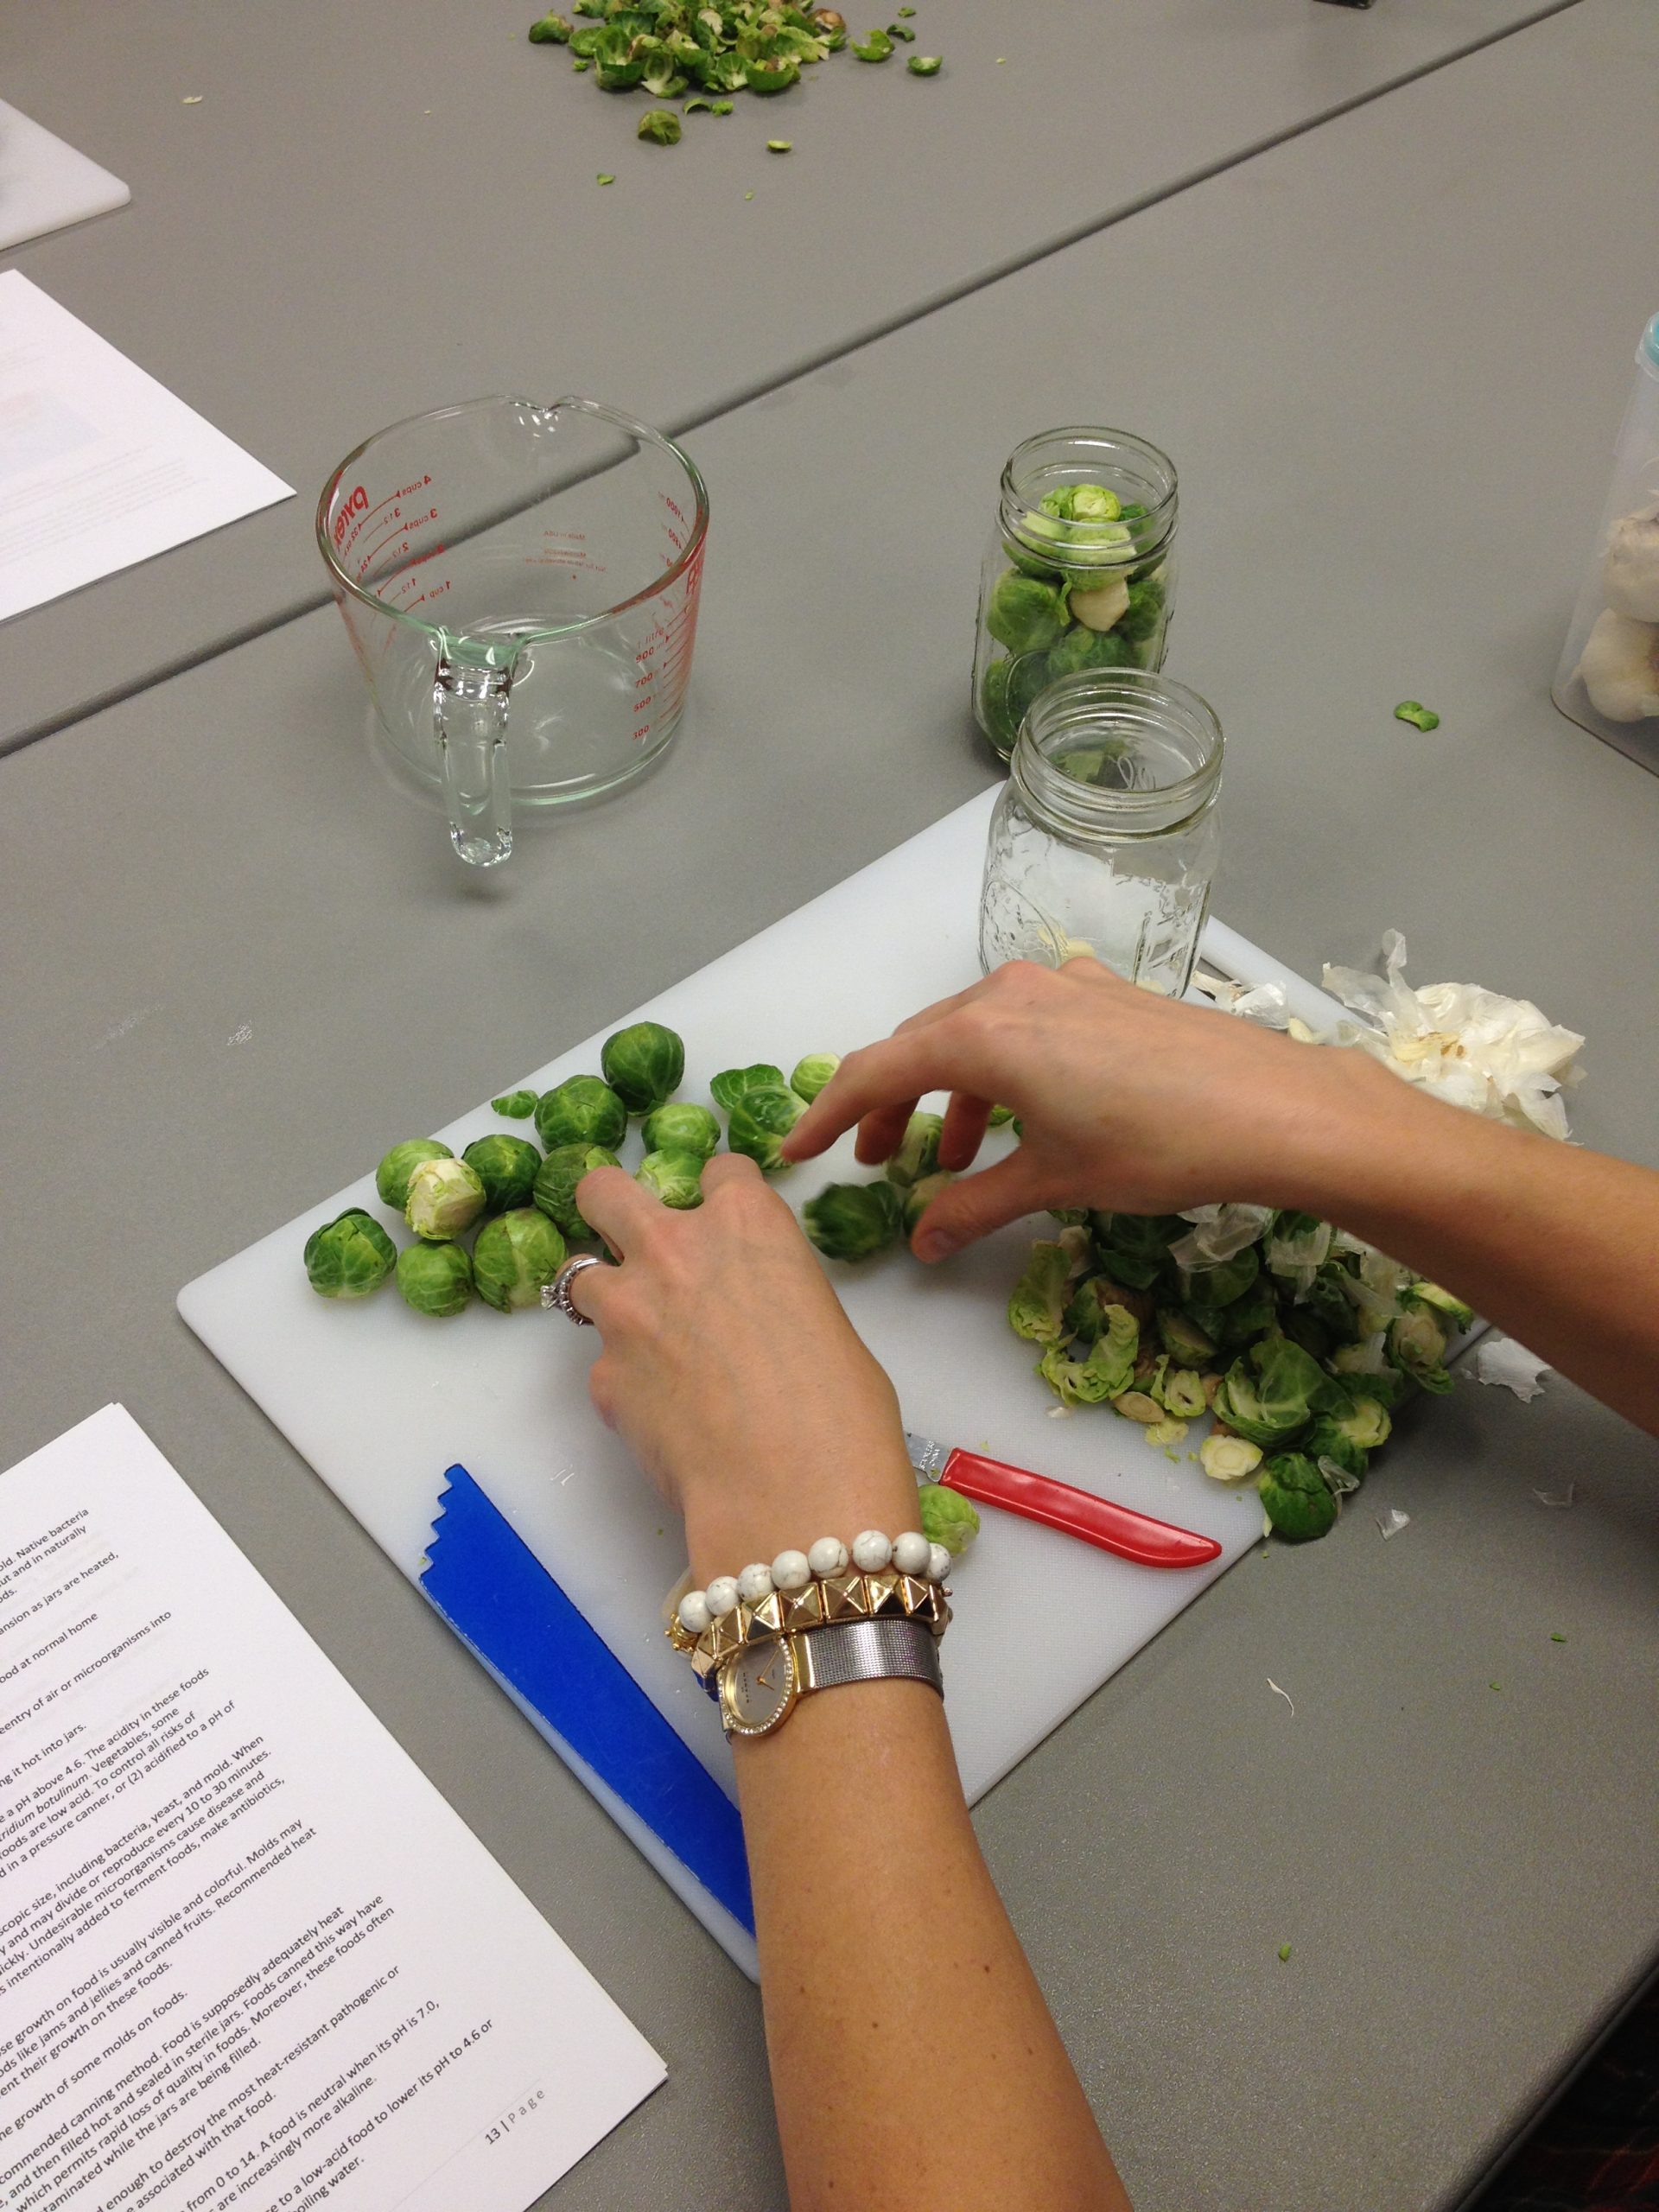
Cut the base off each Brussels sprout and remove outer leaves. For large Brussel sprouts, you may cut them in half, or feel free to leave whole.
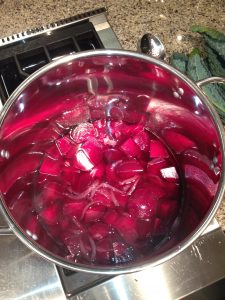
In a large stainless steel stock pot, combine vinegar, water and salt. Stir well and bring to a boil over medium-high heat, stirring to dissolve the salt.
Add the garlic cloves, dill, and hot pepper flakes, if using, to each jar. For quarts add four fresh dill flowers or 1 tablespoon of dill seeds, four garlic cloves, and 1 tablespoon of pepper flakes, if using, to each jar. For pints, add two fresh dill flowers or 1 teaspoon of dill seeds, two garlic cloves, and 1 teaspoon of pepper flakes, if using, to each jar. For half-pints, add one fresh dill flower or 1/2 teaspoon of dill seeds, one garlic clove, and 1/2 teaspoon of pepper flakes, if using, to each jar.
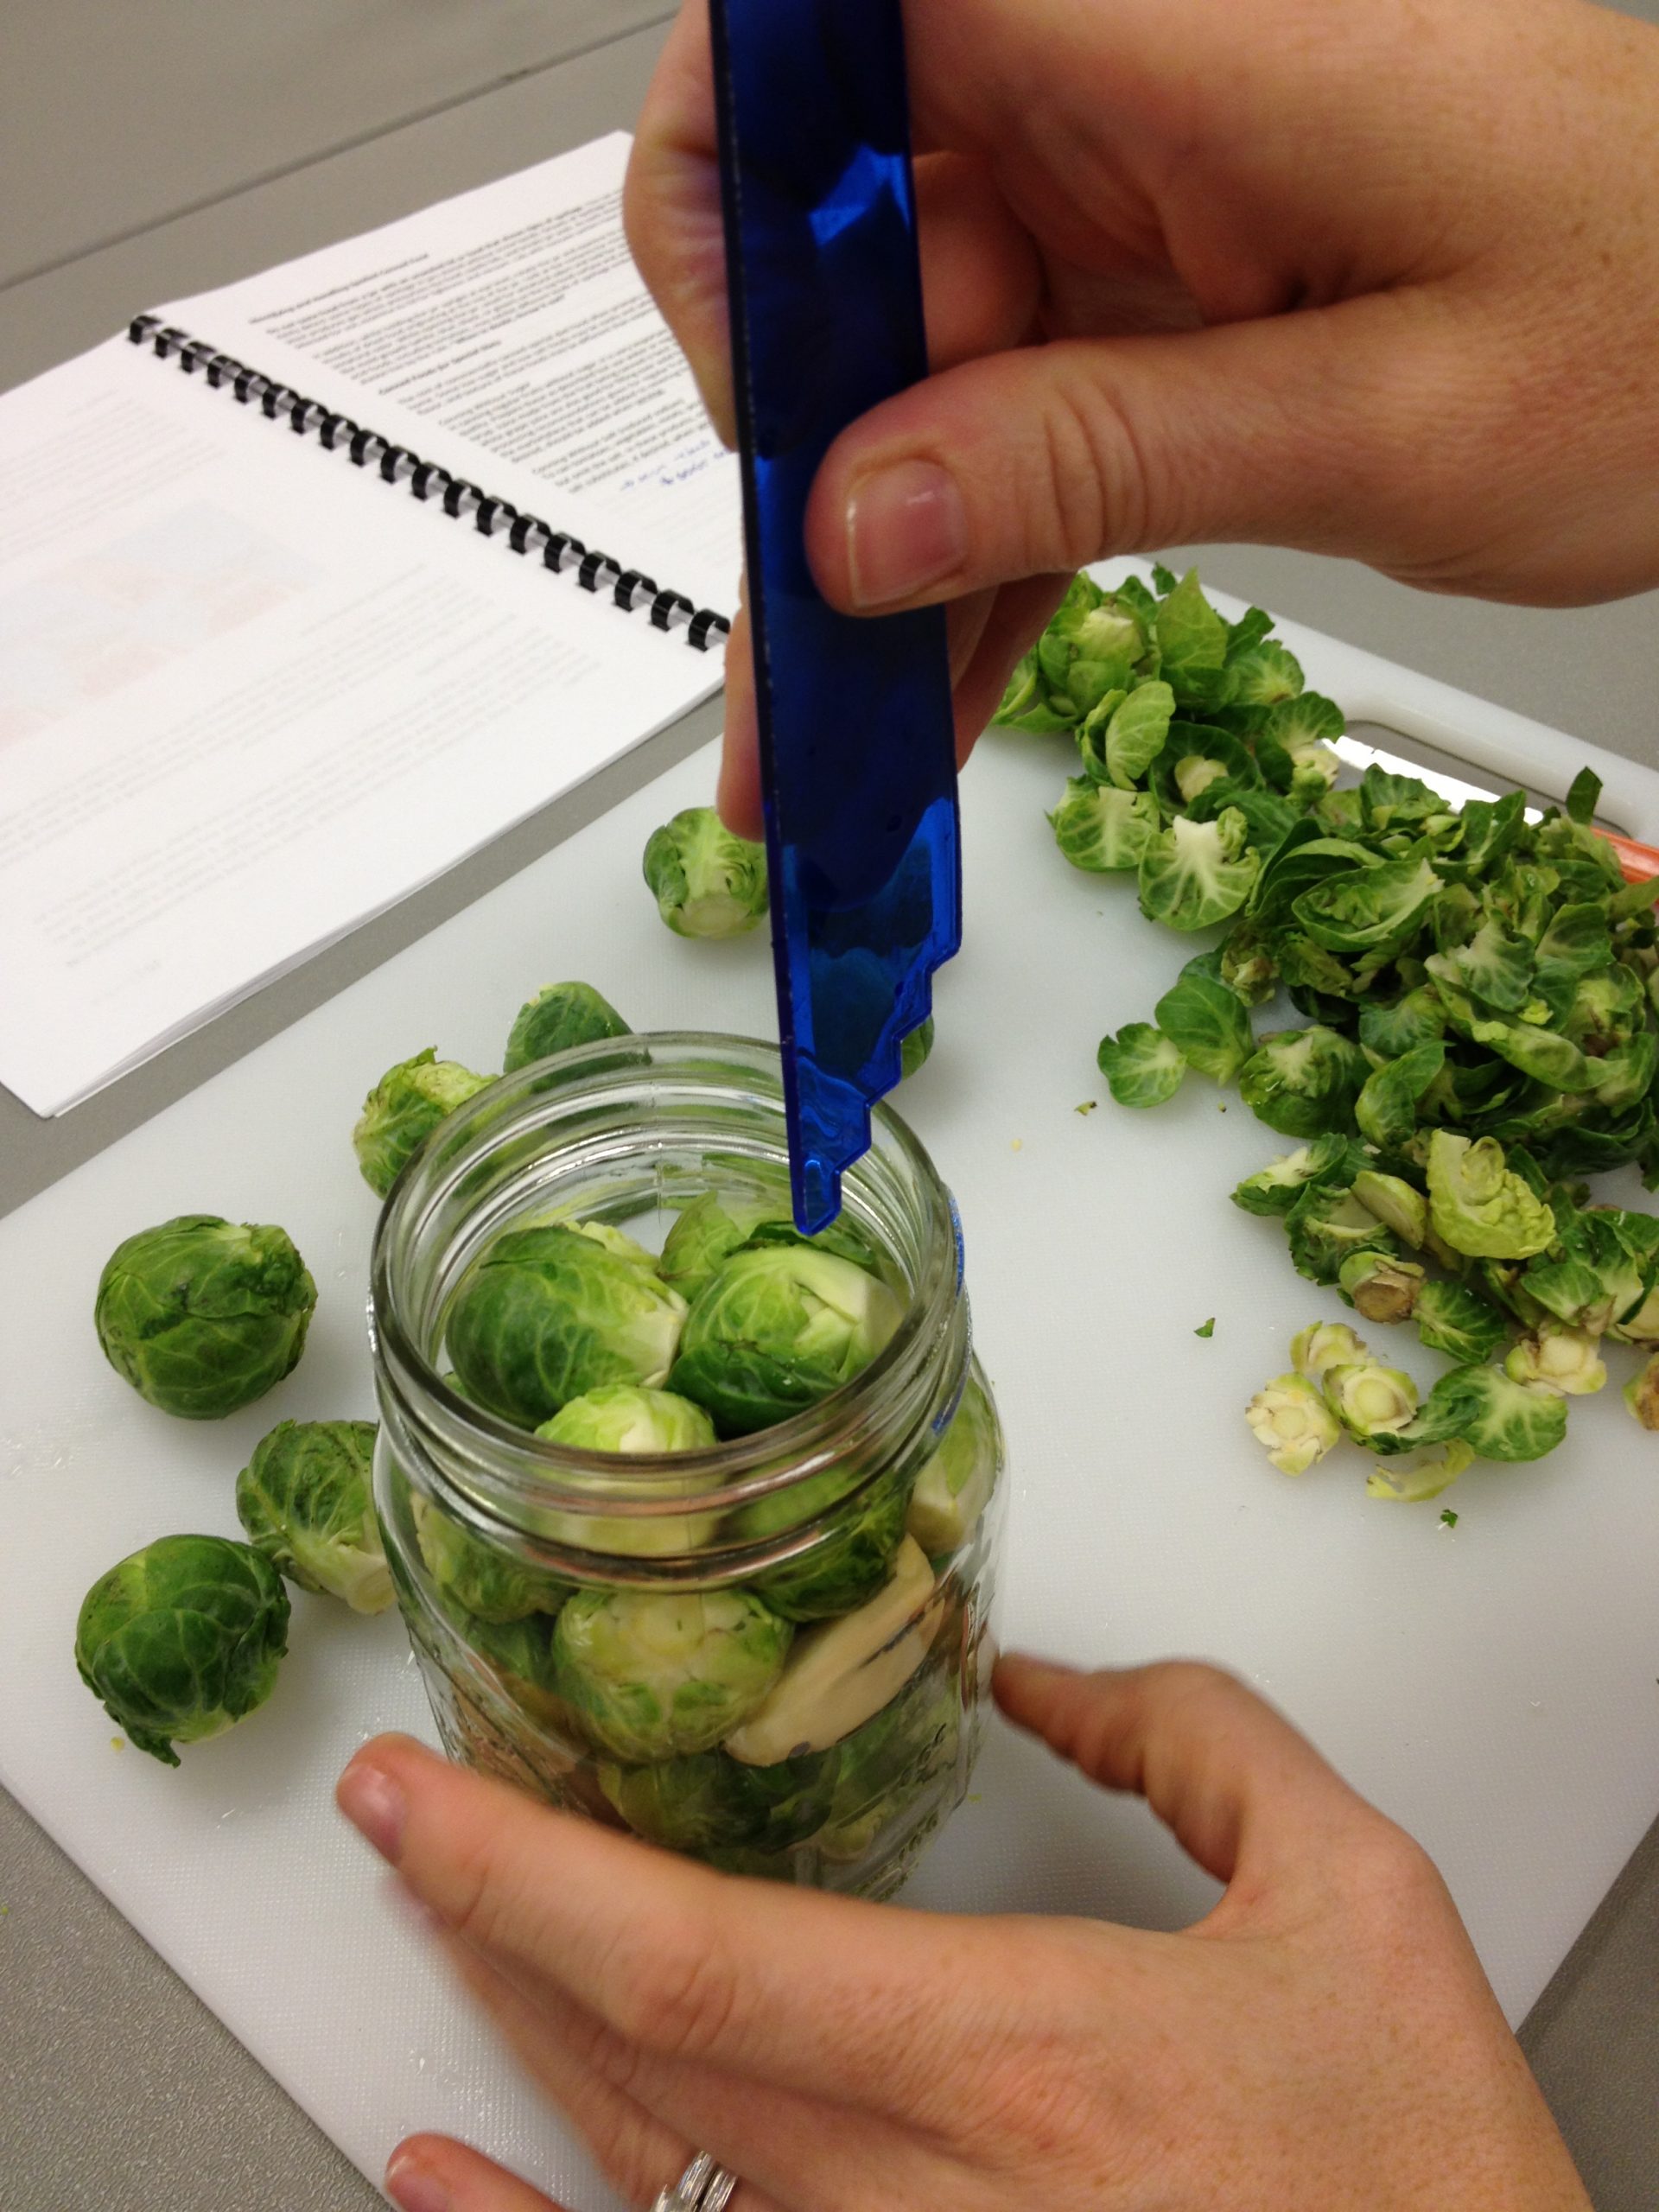
Next, raw pack the the Brussels sprouts into each jar leaving a 3/4-inch headspace. Be sure to fit them in strategically so you get as many Brussel sprouts in each jar as possible.
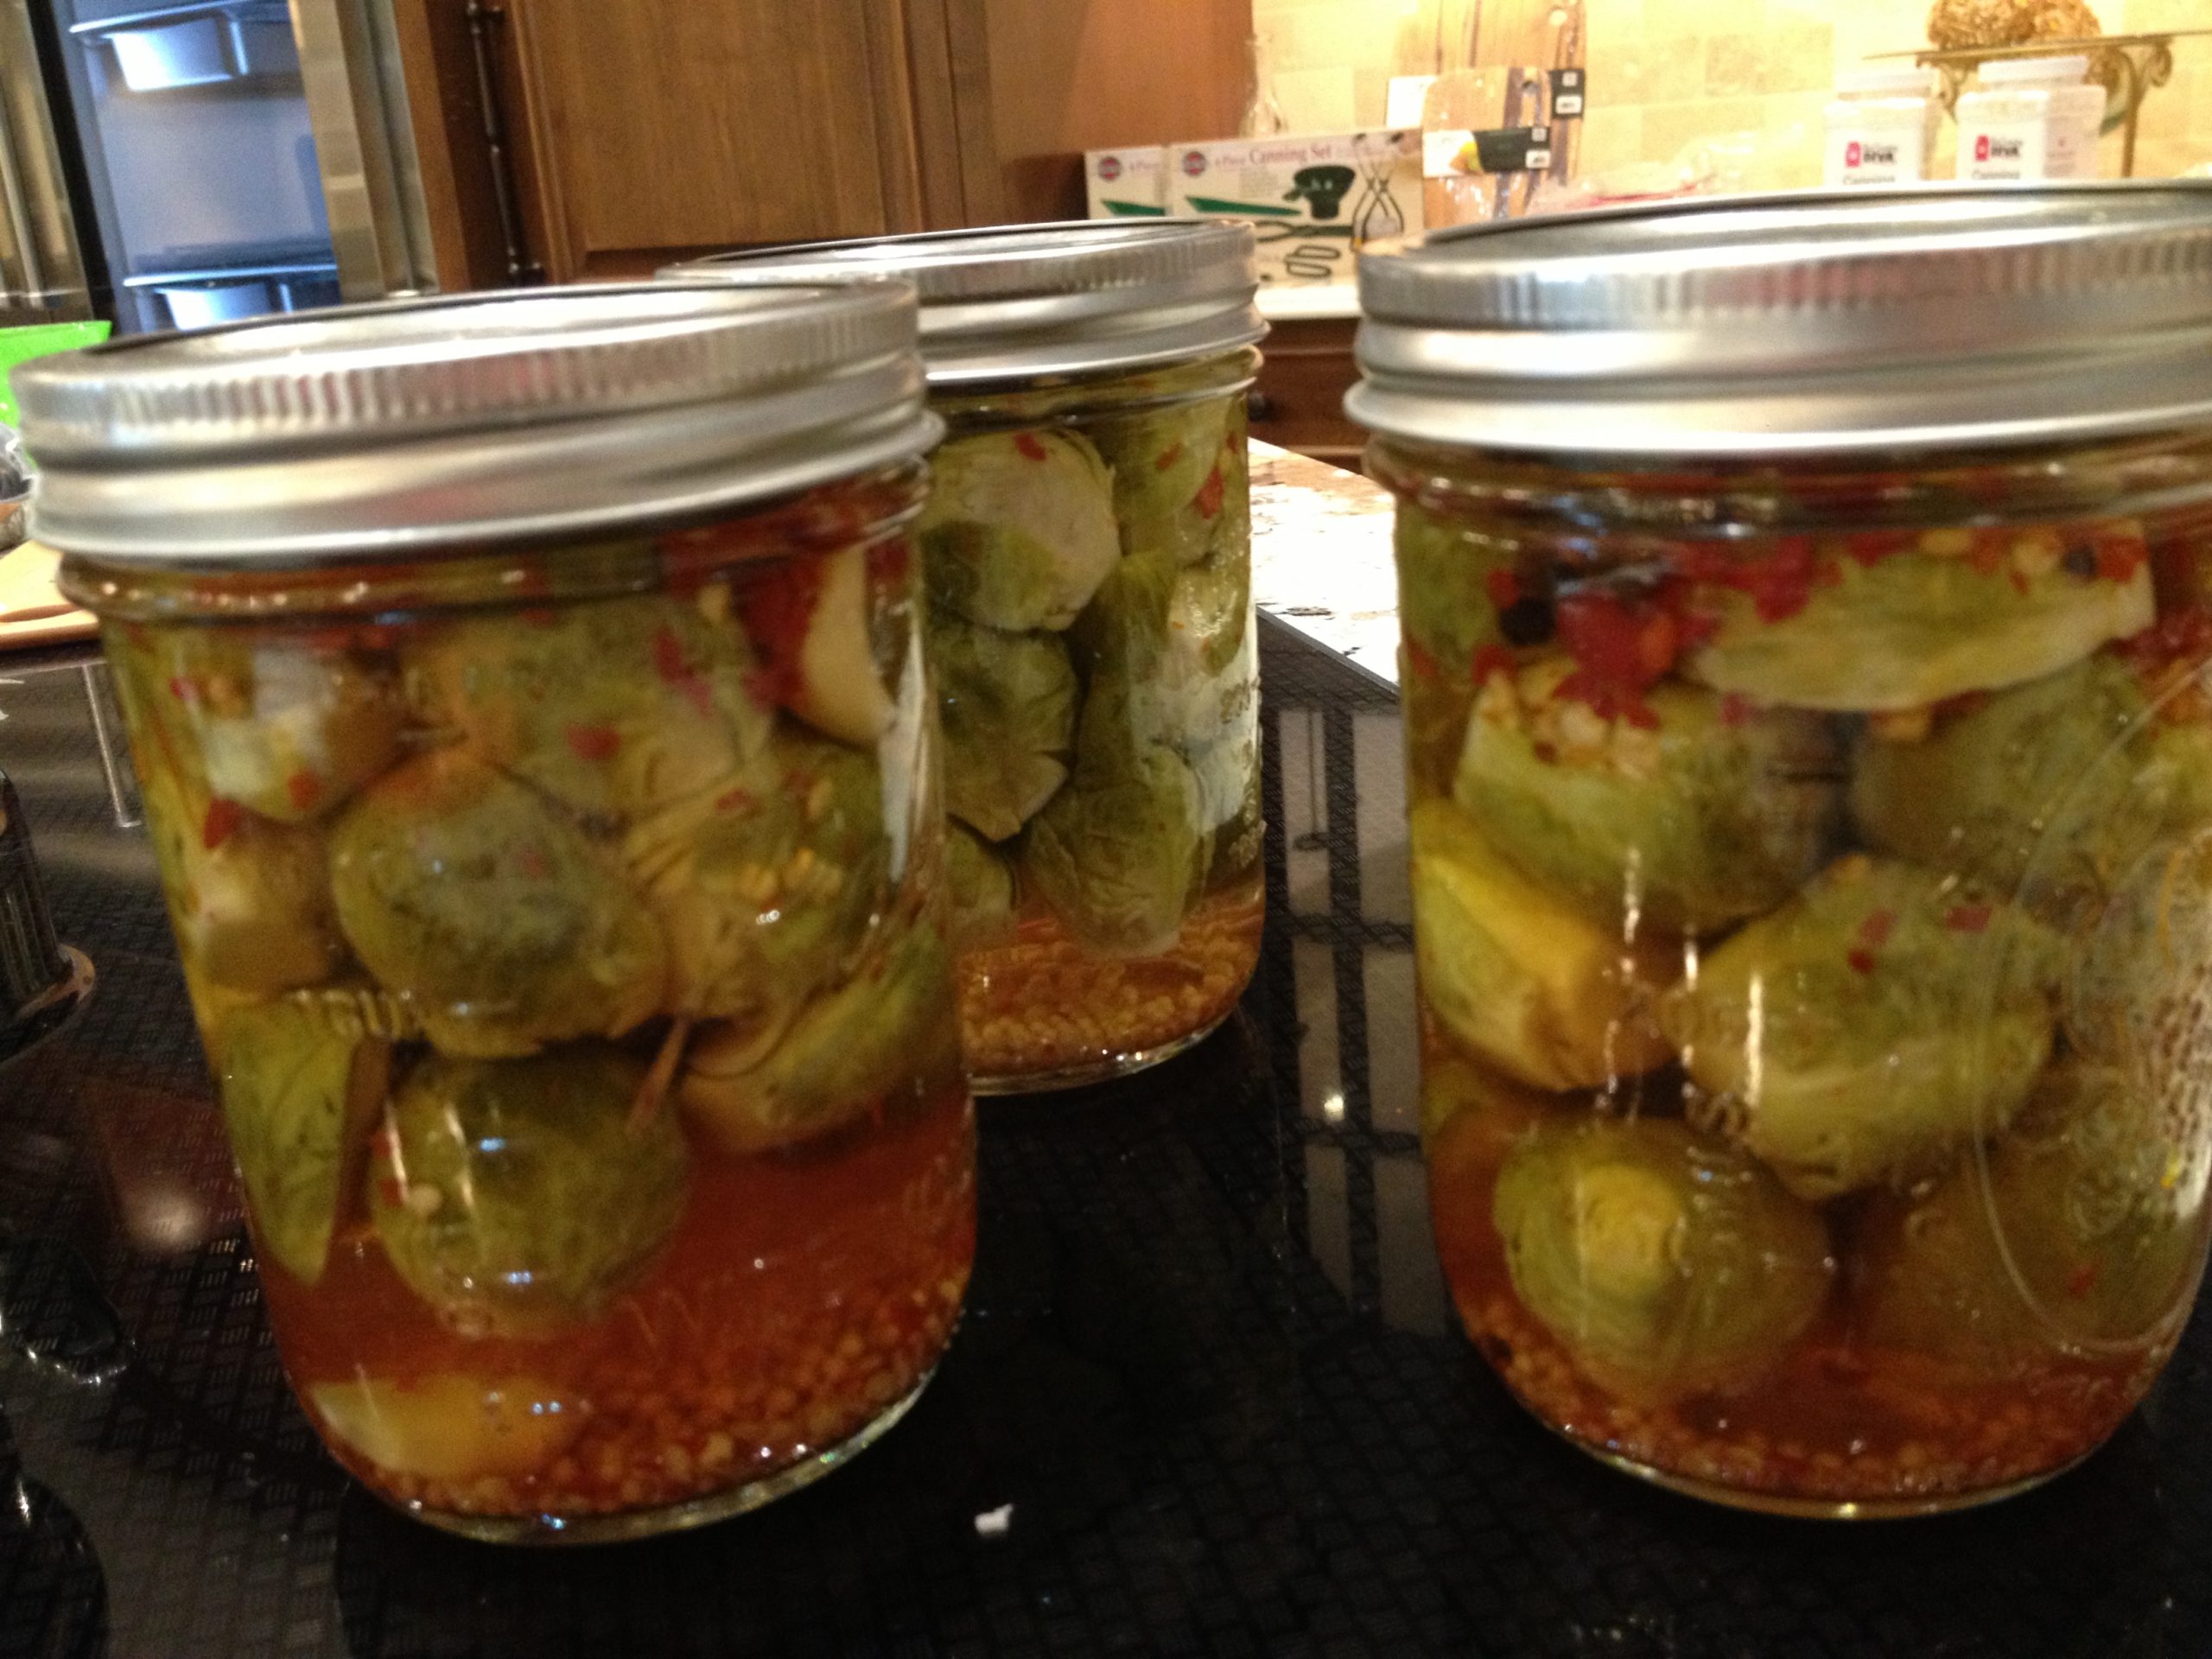
Ladle hot brine into jars to a 1/2-inch headspace. Remove any trapped air pockets using your canning utensil or by gently tapping the jar onto a cutting board. Add additional brine if necessary to maintain the 1/2-inch headspace.
Using a warm wash cloth dipped in vinegar, wipe each rim and screw bands. Place lids and rings on each jar and hand tighten.
Place jars in water bather and fully cover with warm/hot water. Process the half-pint and pint jars for 10 minutes, quart jars for 15 minutes. Remember, processing time doesn’t begin until the water is at a full rolling boil.
After your timer goes off, remove the canner lid and let the jars rest 5 minutes in water bather before removing to cool.
Recipe Tip: If you run out of pickling liquid, use half the parts listed above, boil and fill jars accordingly. Never fill your remaining jars with just water – it will lessen the acidic level and cause food to spoil.
Want to spice up your Bloody Mary or change up your pickles? Well there is no better way then surprising your guests with a couple of pickled Brussel sprouts. Even those who typically do not eat Brussels sprouts keep coming back for these dilled delights! Feel free to keep ‘em dilled or add a bit of heat using hot pepper flakes. These are also commonly referred to a “frog balls” amongst home canners.
Ingredients
6cups6white vinegar (5% acidity)
2cups2water
½ cup pickling and canning salt
12cloves12garlic
12heads12fresh dill or 3 tablespoons dill seeds
2tablespoons2hot pepper flakes (optional – I like to make half the jars spicy and the other dill)
3pounds3fresh Brussel sprouts
Instructions
Cut the base off each Brussels sprout and remove outer leaves. For large Brussel sprouts, you may cut them in half, or feel free to leave whole.
In a large stainless steel stock pot, combine vinegar, water and salt. Stir well and bring to a boil over medium-high heat, stirring to dissolve the salt.
Add the garlic cloves, dill, and hot pepper flakes, if using, to each jar. For quarts add four fresh dill flowers or 1 tablespoon of dill seeds, four garlic cloves, and 1 tablespoon of pepper flakes, if using, to each jar. For pints, add two fresh dill flowers or 1 teaspoon of dill seeds, two garlic cloves, and 1 teaspoon of pepper flakes, if using, to each jar. For half-pints, add one fresh dill flower or 1/2 teaspoon of dill seeds, one garlic clove, and 1/2 teaspoon of pepper flakes, if using, to each jar.
Next, raw pack the the Brussels sprouts into each jar leaving a 3/4-inch headspace. Be sure to fit them in strategically so you get as many Brussel sprouts in each jar as possible.
Ladle hot brine into jars to a 1/2-inch headspace. Remove any trapped air pockets using your canning utensil or by gently tapping the jar onto a cutting board. Add additional brine if necessary to maintain the 1/2-inch headspace.
Using a warm wash cloth dipped in vinegar, wipe each rim and screw bands. Place lids and rings on each jar and hand tighten.
Place jars in water bather and fully cover with warm/hot water. Process the half-pint and pint jars for 10 minutes, quart jars for 15 minutes. Remember, processing time doesn’t begin until the water is at a full rolling boil.
After your timer goes off, remove the canner lid and let the jars rest 5 minutes in water bather before removing to cool.
Notes
Recipe Tip: If you run out of pickling liquid, use half the parts listed above, boil and fill jars accordingly. Never fill your remaining jars with just water – it will lessen the acidic level and cause food to spoil.
A: No, so your pickled Brussels sprouts retain their integrity after processing it is best to use fresh.
Q: How long should I wait before eating them?
A: For the best flavor profile, let the jars rest in storage for at least 2-3 weeks before opening. However, they are delicious prior to the 2 week mark, just know they will have a stronger vinegar flavor the earlier they are consumed.
Q: Can I use apple cider vinegar in place of white vinegar?
A: Absolutely you may do so. When replacing white vinegar with apple cider vinegar, the brine will be deeper in flavor with less ‘bite’ and produce a gorgeous amber hue. Just be sure your vinegar states 5% acidity on the label when pickling at home.
About the Author: Diane Devereaux, The Canning Diva®, is a nationally recognized food preservation expert, author, and educator with over 30 years of home canning experience. She’s the author of multiple top-selling canning books and teaches workshops across the U.S. Learn more at TheCanningDiva.com.
