Check this out!
Home Canning Fall Pumpkins and Winter Squash
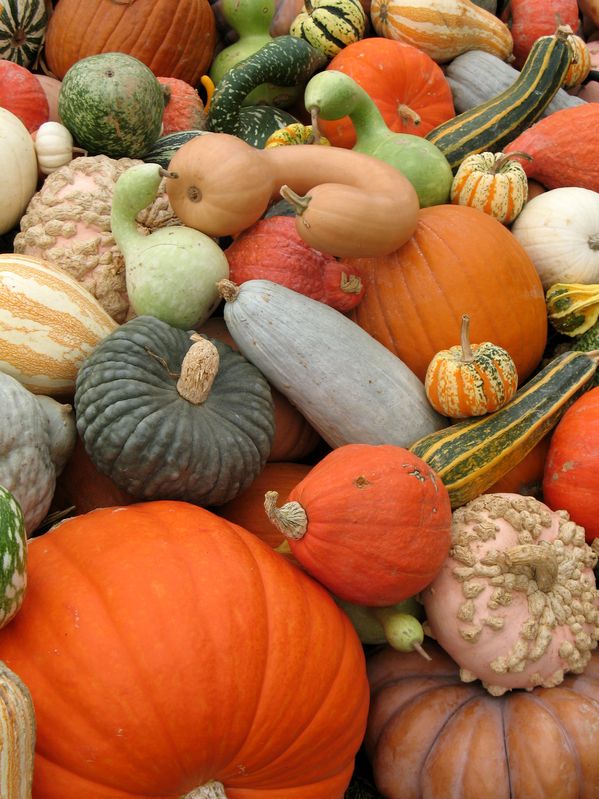
Fall is the season for pumpkins, squash and gourds – and all things harvest fun! Although pumpkin and squash last for months in dry storage, preserving their freshness in a jar will ensure you may enjoy them well into next spring and summer!
Having home canned pumpkin is a great alternative to store bought. Have pets? A ¼ cup of pumpkin in your dog’s food dish gives them the vital fiber they need to keep them fit and healthy. Just another great reason to learn how to home can pumpkins and squash this winter.
Here are some tips when selecting pumpkins and squash to preserve in a jar:
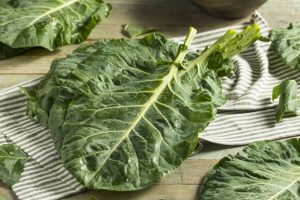
- When selecting from the many squash varieties (acorn, butternut, Hubbard), be sure to choose those with hard rinds and those free from damage and mold spots!
- Pie pumpkins are the best for preserving as their pulp has less water, is less stringy and has a better flavor over traditional carving pumpkins.
- Regardless, you will need about 2 ½ pounds of pumpkin/squash for every one quart jar. If canning in pints, 2 ½ pounds will yield approximately two pint jars.
Because the interior flesh of pumpkin/squash is so dense, especially when mashed or pureed, it is not recommended it be home canned in such a dense state. Proper home canning methods required heat to transfer evening through the jars contents ensure all harmful bacteria is killed during processing.

To ensure proper heat transfer, it is best to cube the pumpkin or squash, then pressure can. When its time to use your home canned pumpkin/squash, simply drain it then mash or puree depending on how you intend to use it in things like pies, breads and more!
Prepping Instructions
- Wash the exterior of your pumpkin and/or squash being sure to remove any dirt or debris.
- Poke the pie pumpkin or squash all over with the tines of a fork. If you have a very large pumpkin, cut it in quarters, remove all of the seeds using a large spoon and place peel side up in a large dish.
- Microwave on high for 3 minutes.
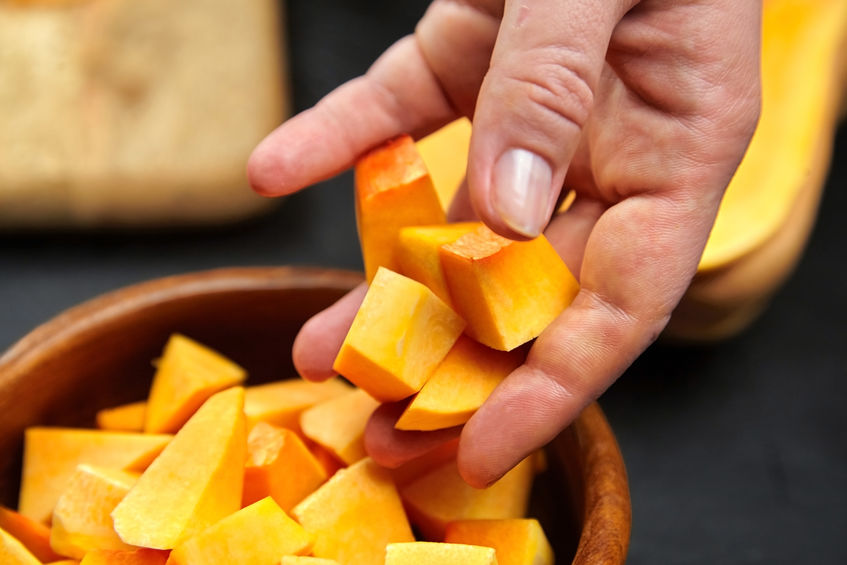
- Using peeler or paring knife, carefully remove the skin. It should fall off very easily.
- Cut the flesh into 1” to 2” cubes.
Basic Pressure Canning Instructions for Canning Pumpkin and Squash
- Raw pack cubes into clean jars leaving a generous 1” headspace.
- Ladle hot water atop cubes and fill to a generous 1” headspace.
- Wipe jar rims with a warm wash cloth dipped in vinegar. Place prepared lids and rings on each jar and hand tighten.
- Process in a pressure canner at 10 pounds of pressure weighted gauge or 11 psi for a dial gauge, pints for 55 minutes and quarts for 90 minutes. Adjust your psi according to your elevation increasing it to 15 psi if required.
Although pumpkin and squash last for months in dry storage, preserving their freshness in a jar will ensure you may enjoy them well into next spring and summer! Having home canned pumpkin is a great alternative to store bought.
In this episode, The Canning Diva® shares prepping and canning techniques to help you easily peel and cut pumpkins, squash and gourds and gives you safe canning advice.
She also shares with you a popular recipe from her cookbook, The Complete Guide to Pressure Canning, Pumpkin with White Beans and Bacon. One of the most flavorful, yet simple canning recipes. Now, if you are not a meat eater – no worries, omit the bacon. Vegan? No problem, use vegetable broth instead of chicken broth. Not a fan of pumpkin – not a problem, simply substitute the pumpkin with two medium butternut squash. The Canning Diva® teaches listeners how to create this hearty recipe to suite your lifestyle.
Listen to the full episode here.
Happy Canning!
xx,
Diane, The Canning Diva®